| Brand: | Amiad / Arkal |
| Category: | Filtration, Filtration Controllers |
Product Description
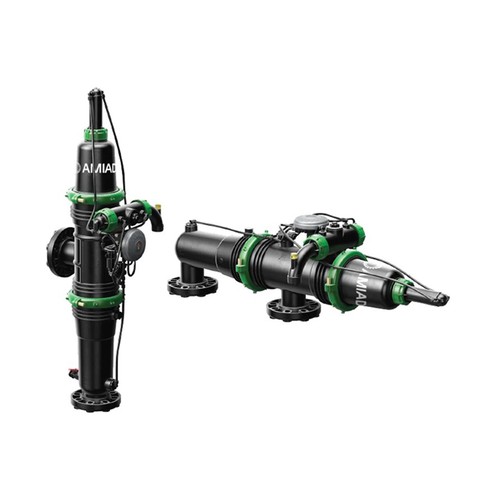
Amiad's ADI-P Controller is a Bluetooth-operated controller for controlling a Single Filter. The system consists of two major components, the ADI-P Controller and the Mobile Application.
The ADI-P controller can be supplied in two different configurations: as an integral component of a new filtration system where the controller is already connected to the filter and configured for that specific filter model or as a stand-alone unit to be connected and configured for an existing installed filter.
Features and Benefits
- Interacts with Amiad's advanced, user-friendly ADI-P mobile App.
- One-of-a-kind monitoring and control functionality.
- Provides detailed filtration performance data.
- Bluetooth range Communication.
- Offline information storage is available.
Technical Data
Nominal Operating Pressure
- 0-10 bar
Burst Pressure
- 20 bar
Power
- Internal - 4 x 1.5V AA batteries
- External - 7-14 VDC
Temperature Range
- -10 degrees Celsius to +60 degrees Celsius
Weight
- 0.5 Kg
DP Sensor
- Internal
Internal Piston Pressure Sensor
- Optimized flush time duration
IP Rating
- IP65
User Interface
- Via Smartphone Application
Filter Models
- Sigma Pro, Mini Sigma, SK Compact, Filtomat series 100
Digital Inputs
- DP Switch, Pause
Chain Controller options
- Onboard end of cycle Pulse
Standards
- FCC 47CFR part 15: 2017, subpart B, Class B
- ICES-003: 2016 Issue 6. Class b
- AS/NZS CISPAR 32: 2015 Class B
- EN 61326-1: 2013, basic immunity requirements, Class B
- JEC 61010-1
The ADI-P Controller Components

1. ADI-P Panel for manual flushing button and indication LEDs
2. 3-Way 12VDC solenoid latch
3. Solenoid's Manual Operation Handle
4. ADI-P Cover 5. 8 mm Pressure Input
Starting the ADI-P Controller Operation

Open the cover of the ADI-P controller by turning it counterclockwise (1) and insert a set of four alkaline 1.5V AA batteries (2) (Use only safety-approved consumer batteries). The power LED lights up and the ADI-P controllers start operating according to its predefined default flushing program; flushing by 0.5 bar DP signal and 4 hours time intervals.
Pairing the Controller with your Phone:

- Put your phone in Bluetooth discovery mode and start the ADI-P application.
- Select the required system Units
- Register your filter to create an account.

4. Click Connect, the application scans and finds the in-range controller, and the blue light on that controller starts blinking
5. Select the found controller, the system starts the pairing process with this controller
6. Select the found controller, the system starts the pairing process with this controller

7. Complete the site ID form; Name your site and select the filter model(if not already defined). You may add a picture of the site by clicking on the picture icon.
Important:
- In case the controller is sold as a spare part, or as a standalone product, select the correct filter model.
- Select "Predefined" when the controller is supplied as an integrated component of a new filter; the application reads the controller's S/number automatically.

8. enter the Site Info details

9. Select the active controller (the line with an active Bluetooth icon next to the site name)
10. The online status screen appears. Your controller and application are set; you may start using the system.
Getting to know the ADI-P Application:
Generally, the application complies with the regular conventions of standard smartphones applications.
Once running and controlling the filter, the application has 5 main screens. Scroll through these screens by sliding to the right or to the left.

You may also jump to the desired screen by clicking on its designated icon in the lower line of each screen.

Connection Instructions:
The connecting process is divided into two stages; the first stage is the wires connection and the second stage is the setting of the controller's application for chained operation.
Stage1: Wires Connection

Connect between the NO relay output of the master controller and the external DP inputs of the Slave Controller. Important: for your safety and for not damaging the controller remove the batteries before starting the wiring process.
Make sure that the wire guage (the diameter of the cable) used is similar to the solenoid ( ~4mm) this is crucial for maintaining the IP65 rating of the controller ( water and dust proof).
Stage 2: Application
Connect the ADI-P application to the master controller and perform the following:
A. On the top left side of the home screen click on the settings ( the gear-shaped) Icon.
B. Scroll down through the settings screen.
C. Select the technician settings.
D. Enter the password -1234.
E. in the technician settings screen select the "mode of operation" tab.
F. Click on the current status of the controller (generally this is "controller")
G. Select the desired master mode for the current controller.

Disconnect the ADI-P application from the master controller, connect it to the controller to be the slave controller, and perform the following:
A. On the top left side of the home screen click on the gear-shaped Icon.
B. Scroll down through the settings screen.
C. Select the technician setting.
D. Enter the password - 1234.
E. In the technician settings screen select the "mode of operation" tab.
F. Click on the current status of the controller (generally this is "controller")
G. Select the desired slave mode for the current controller.

Check the controllers operation by starting a flush cycle through the application or by the controller's button.
Amiad - ADI-P - Filter Controller

Amiad - ADI-P DC
| Product Code | Description |
|---|---|
ADI-P DC |
ADI-P DC - Controller Only |
ADI-P DC - 1 ST |
ADI-P DC - Controller Kit - 1 Station - To suit Amiad Mini Sigma, Sigma Pro and M100 |


